Sort by: This feature includes two sorting options: popularity and payout per lead. It's important to use these only as indicators. While certain offers may be rated with a high payout per lead, the demand or "popularity" of the offer could be very low - meaning you will most likely generate very few leads. It is all about finding a balance that works for both your earning expectations and your audience's interests. Each indicator is detailed below:
Popularity: The star rating represents the popularity of an offer. The more stars you see, the easier it will be for you to generate a qualified lead for that offer. We recommend keeping an eye on this as it will impact your earnings more than the "Payout per Lead", listed next.
Payout per Lead: The dollar signs represent the payout range. The more dollars showing, the more money you stand to earn for generating a qualified lead. Based on that range, you can assume that one '$' is at the lower end of that range, three '$$$' is at the higher end of the range, and that two '$$' falls in the middle. Remember that the minimum for any lead is $1.50 and the highest payout is $20.
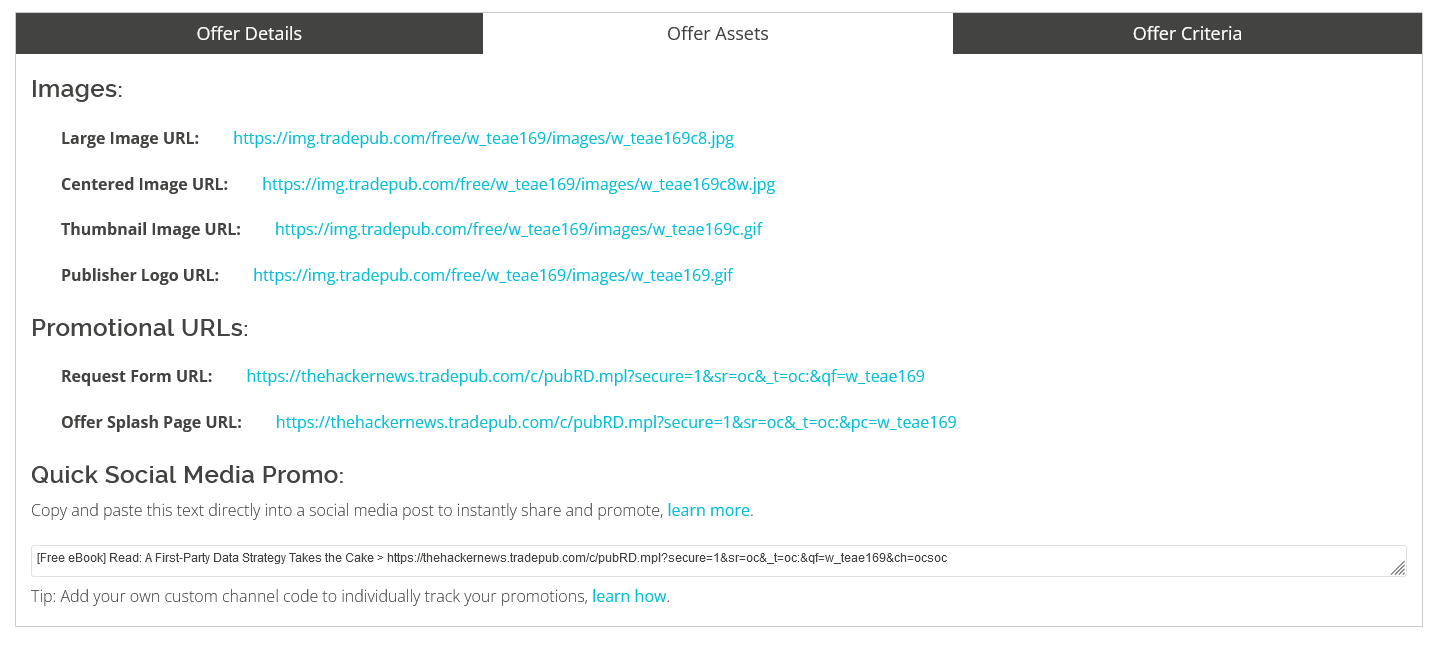
Offer Assets: After selecting an offer for promotion, click on the offer to access the offer details.
Copy Points: A title, short description and long description are provided for every offer. We recommend including your own context, opinions, or facts to add authenticity for your audience when using the offer in a blog post, newsletter, or social media post.
Selecting a Destination Page: The offer catalog applies your main Partner URL to each offer for you. (If you have multiple properties you will need to modify the URL to the appropriate sub-domain before promotion). It is important that you copy the Offer URL directly from the Offer Catalog so that your promotion can be tracked accurately. Custom "channel code" tags can be added for additional reporting, see the "Tracking Your Campaign" section below in Beyond the Basics. You may choose to direct your promotion to the Offer "Splash Page" or "Request Page".
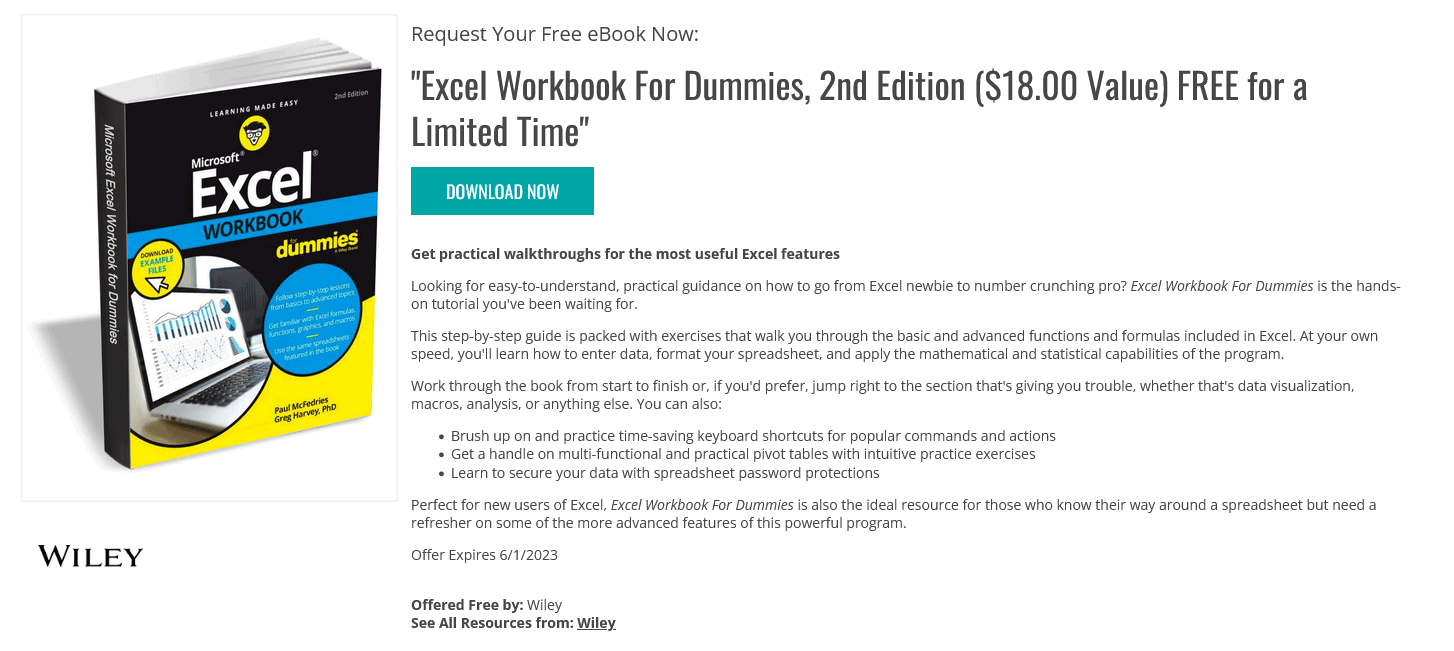
The Splash Page displays the most information about the offer for your audience including short and long description, author logo, and cover image.
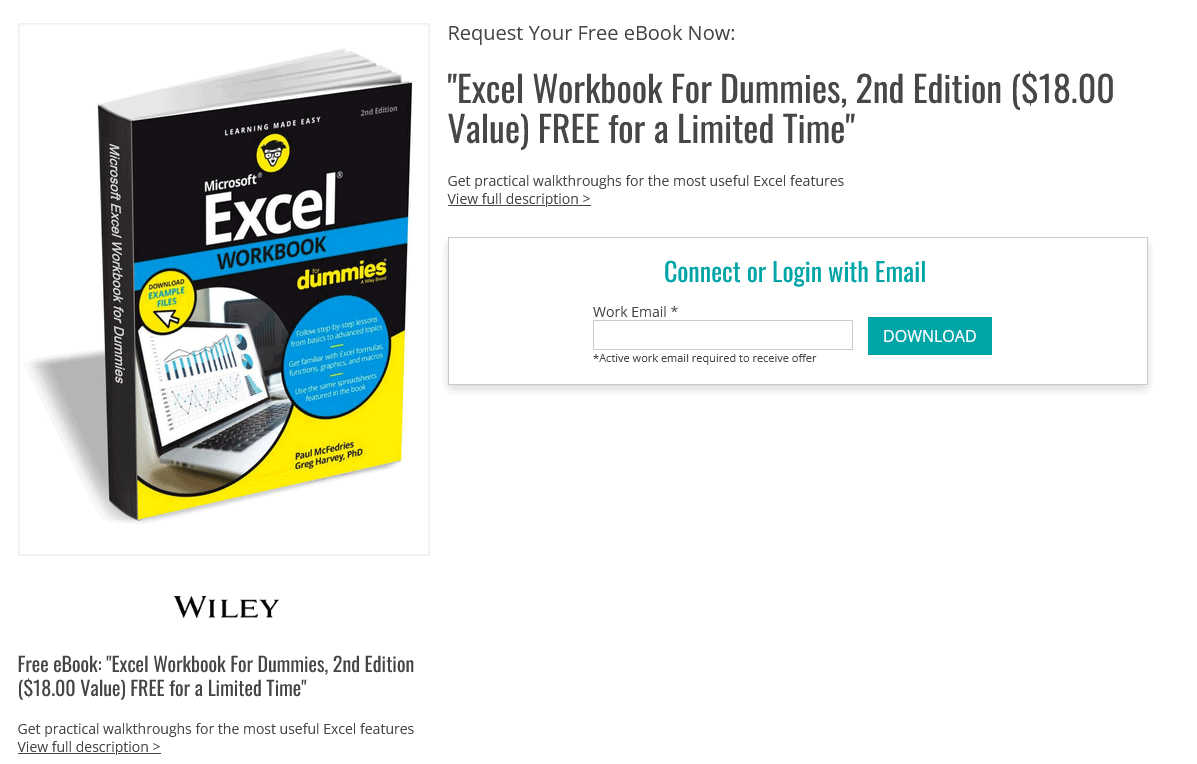
The Request Page (for new requesters) begins with a social sign-in option, then directs users to the full request form. This page does not display the long description of the offer.
Tip: If you are including a lengthy description in your post, you may have more success directing your traffic directly to the Request Page, eliminating duplicative messaging and a multi-page flow. We recommend testing this for your audience.
Using the Offer Cover Image: Including the cover image with your promotion is proven to increase user engagement. "Blog posts with images receive +94% views than plain text," reported by professional blogger Jeff Bullas. Plus, the RevResponse offer catalog provides multiple sizes to choose from for your post. Don't leave out the images! Read more about the Offer Catalog
Tip: All offer pages are optimized for social media sharing. By promoting an offer page, the cover image, title, and short description will automatically display in your preview. Try it! Learn more about Open Graph Tags.